



-
den.tesoro@ollyolly.com
-
 Epoxy Flooring
-
 0 Comments
-
 September 28, 2026
Perfect Your Epoxy Flooring Installation With Expert Methods
Assessing Your Concrete Foundation
The foundation of any successful epoxy flooring project begins with thorough surface evaluation. Before mixing a single batch of epoxy resin, you must assess your concrete’s condition, age, and suitability for coating. In the Fremont area, many residential garages and patios feature concrete poured decades ago, and these older slabs often harbor hidden moisture issues or structural weaknesses that will compromise adhesion if left unaddressed.
Start by inspecting the entire surface for cracks, spalling, oil stains, and surface contamination. Use a moisture meter to check concrete humidity levels; Bay Area fog and seasonal winter rains can drive subsurface moisture above the 4% threshold that prevents proper epoxy bonding. If your slab sits directly on grade without a vapor barrier (common in homes built before the 1980s), plan for additional moisture mitigation steps such as a penetrating sealer or extended drying time.
Next, perform a simple scratch test: drag a coin or key across the surface. If the concrete flakes or dusts excessively, it may be too weak or porous to support a durable epoxy floor coating. You will also want to check for any existing sealers or coatings, which must be mechanically removed before application. Many homeowners underestimate this phase, but investing time in a detailed assessment prevents delamination, bubbling, and premature failure down the line.
Preparing the Work Area for Application
Once you have confirmed that your concrete is a viable candidate for epoxy coating, the next critical phase is site preparation. This step determines whether your floor epoxy will bond permanently or peel within months. Begin by clearing the entire area of vehicles, storage, and any movable items. Sweep thoroughly to remove loose dirt and debris, then vacuum to capture fine dust particles that can interfere with adhesion.
Deep cleaning is non-negotiable. For garage floors, use a commercial degreaser to break down oil, transmission fluid, and tire residue. Apply the degreaser liberally, scrub with a stiff-bristle brush, and rinse with a pressure washer set to at least 3,000 PSI. In the Bay Area, where many garages double as workshops or storage for bicycles and outdoor equipment, you may encounter stubborn grease spots; treat these with a second round of degreaser and allow extra dwell time before rinsing.
After degreasing, etch the concrete using either muriatic acid or a mechanical grinder. Acid etching opens the pores of the concrete and creates the rough profile necessary for epoxy adhesion. Mix one part muriatic acid with three parts water (always add acid to water, never the reverse), apply evenly, and scrub until the surface fizzes. Rinse thoroughly and allow the slab to dry completely, which can take 24 to 48 hours depending on ambient humidity. If you prefer to avoid chemical etching, a diamond grinder achieves similar results and is often the method professional contractors use for residential epoxy flooring projects. If you are uncertain about the best approach for your specific slab, contact us for a consultation tailored to your project.
Repairing Cracks and Leveling the Surface
Even minor cracks and surface imperfections will telegraph through a new epoxy floor coating, creating weak points and aesthetic flaws. This phase focuses on repairing structural defects and leveling the substrate to ensure a uniform, professional finish. Inspect your slab for cracks wider than a hairline; anything over 1/8 inch requires filling with a flexible epoxy crack filler or polyurethane sealant that can accommodate slight slab movement.
Use a grinder or crack-chasing blade to widen narrow cracks into a shallow V-groove, which increases the surface area for the filler to bond. Vacuum out all dust and debris, then apply the filler according to the manufacturer’s instructions. For deeper cracks or areas with significant spalling, consider a concrete overlay or patching compound that builds up the surface to the surrounding grade. Bay Area temperature swings between cool nights and warm afternoons can cause slabs to expand and contract, so choose fillers rated for flexibility and thermal cycling.
Once cracks are filled and cured, address any low spots or surface irregularities using a self-leveling concrete overlay. Pour the overlay, spread it with a gauge rake, and allow it to flow into voids. This step is particularly important in older Fremont-area garages where settling or poor initial finishing left uneven surfaces. A level substrate ensures uniform epoxy thickness and prevents pooling or thin spots that compromise durability. Allow all repairs to cure fully (typically 24 to 72 hours) before proceeding to primer application. Taking the time to achieve a smooth, sound surface now will pay dividends in the longevity and appearance of your concrete epoxy floor.
Understanding the Foundation of Durable Flooring
Priming is the bridge between your meticulously prepared concrete and the final epoxy coating. A high-quality epoxy primer penetrates the concrete pores, seals any remaining moisture, and creates a tacky surface that maximizes adhesion for the topcoat. Choose a primer formulated specifically for concrete epoxy applications, and follow the manufacturer’s mix ratio precisely. Most primers are two-component systems (resin and hardener) that must be combined and used within a limited pot life, often 30 to 45 minutes.
Mix the primer thoroughly using a drill-mounted paddle mixer at low speed to avoid introducing air bubbles. Pour the mixed primer onto the floor in a manageable section (typically 100 to 200 square feet at a time) and spread it evenly with a 3/8-inch nap roller or a notched squeegee. Work methodically from the far corner toward the exit to avoid trapping yourself. In the Fremont climate, where morning humidity can linger even in summer, apply primer during the warmer, drier part of the day (mid-morning to early afternoon) to ensure proper curing. Allow the primer to cure according to the product specifications, usually 4 to 12 hours, before applying the epoxy coating.
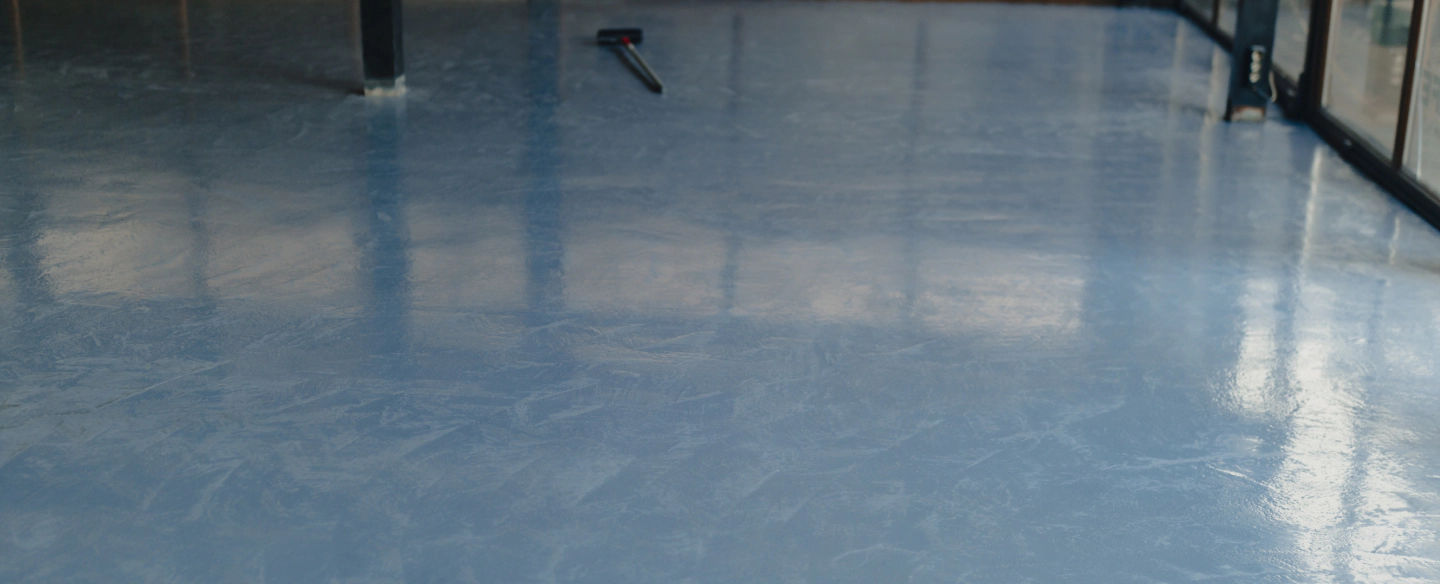
When you are ready to mix your epoxy floor coating, precision is critical. Epoxy resin and hardener must be combined in exact proportions, or the chemical reaction will not proceed correctly, leaving you with a soft, tacky floor that never fully hardens. Measure components by weight or volume using calibrated containers, pour the hardener into the resin (not the reverse), and mix for a full three to five minutes, scraping the sides and bottom of the bucket. If you are using decorative color flakes or additives, fold them in gently after the base components are fully blended. Pour the mixed epoxy onto the primed concrete and spread it immediately with a notched squeegee, then back-roll with a spiked roller to eliminate air bubbles and ensure uniform thickness. For larger projects or if this is your first residential epoxy flooring installation, consider enlisting a professional to handle the mixing and application. See our project gallery for examples of flawlessly applied epoxy coatings across the Bay Area.
Selecting the Right Materials for Your Project
The success of any epoxy floor coating project begins long before the resin touches the surface. Proper preparation determines whether your floor will last decades or fail within months. Professional contractors understand that substrate preparation accounts for approximately 80% of a successful installation.
Start by thoroughly inspecting your concrete surface for cracks, oil stains, and previous coatings. Concrete surfaces must be clean, dry, and structurally sound before application. Use a moisture meter to verify that humidity levels remain below 4% in the concrete slab. Excessive moisture will prevent proper adhesion and cause the coating to delaminate over time.
For residential garage floors and other applications, shot blasting or diamond grinding creates the ideal surface profile. This mechanical preparation opens the concrete pores, allowing the epoxy resin to penetrate and bond properly. In the Fremont, CA area, where garage floors often experience temperature fluctuations between coastal fog and inland heat, proper surface preparation becomes even more critical for long-lasting results.
Remove all oil stains using a degreaser specifically formulated for concrete surfaces. Stubborn stains may require multiple applications or even concrete grinding to reach clean material. Any contamination left on the surface will create a barrier between the concrete and the coating, leading to adhesion failure.
